Apply Marketing Code
Control that can be used on internal or external pages. It could be configured like a button or link that on click executes the action to apply a marketing code, when applied return a success message.

Integration jQuery Plugin on internal pages
Create a new Content Block
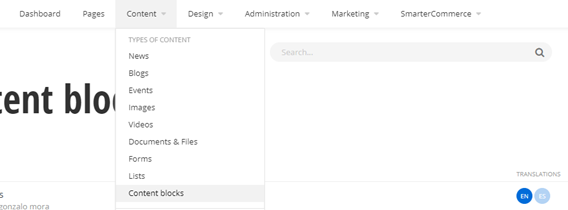
1. Navigate to the Content Blocks (Top Menu -> Content/Content Blocks).
2. Click on Create a content block button.

3. In the new Content Block view:
a. Add a Title
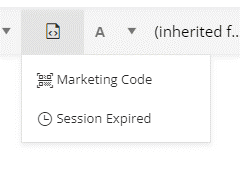
b. Content field: In the Editor text, you will find a custom ToolBarItem to add the HTML structure, open the options in the SmarterCommerce button and select the option “Marketing Code”.
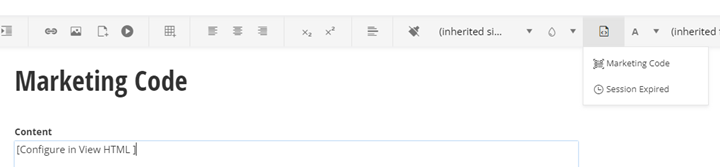
Click on View HTML button and configure the HTML for the site.


Configure the HTML data attributes in the div mentioned in the next section.
4. Clicks on Create and the Content Block configuration are finished.
Plugin HTML data
HTML Attribute | Description |
|---|---|
| data-marketing-code | Promotion Code to be applied. |
| data-is-button | Set to true if want to display a button or false if want to display a link. Values: true/false Default: true |
| data-is-external-page | If plugin is added on external page for security, it is required to be true. Values: true/false Default: false. |
| data-component-text | Text that will be displayed on the component (button or link). Default: Apply |
| data-applied-message | Message to display after marketing code is applied If redirect URL is configured this message will not be displayed so it is not required to configure. Default: Applied at checkout. |
| data-redirect-url | URL to redirect after marketing code is applied. If it is not configured it stays in the same page and display a message. |
Implementation in Page
Add a Content block widget into the page where the marketing code will be used.
1. Navigate to Pages and edit the page.
2. Add a Content block widget into the page. The content block can be added in any section.
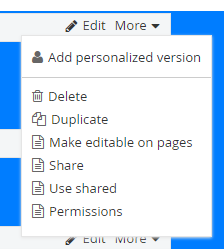
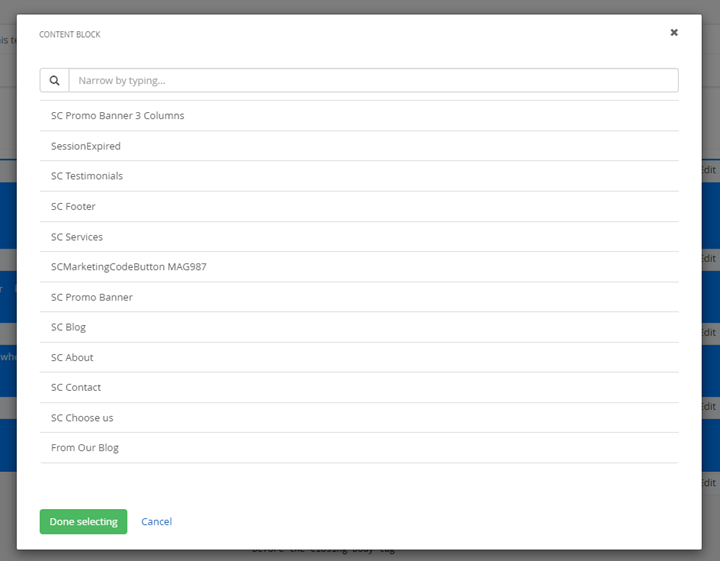
3. On the Content block, click on “More” menu and select “Use shared”, select the content block previously created and click Done selecting.
4. Add the link to the marketing code plugin using a javascript plugin widget.
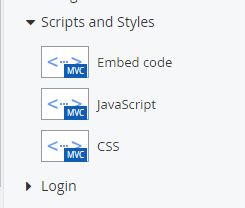
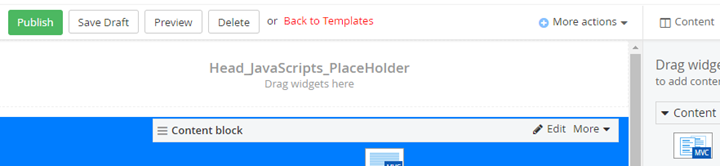
a. Add Javascript widget (Scripts & Styles section) into the Head_JavaScripts_PlaceHolder section in the page template.
b. Select the Link to Javascript file option:
URL: ~/ResourcePackages/Bootstrap4/MVC/Scripts/sc-jquery.marketingcode.min.js
On “More Options” select to include in “Before the closing body tag”
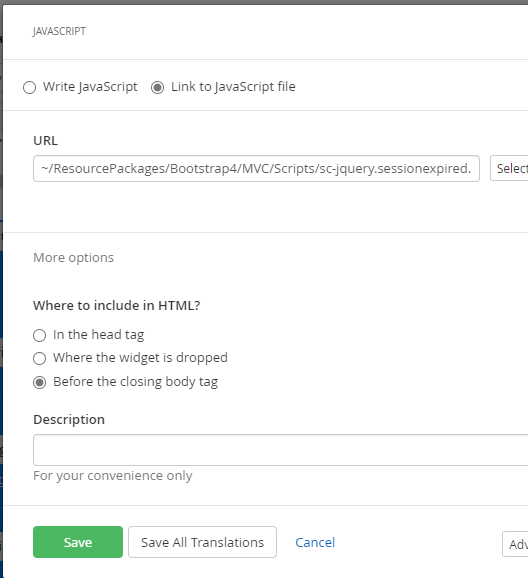
c. Clicks on Save.
5. Publish page.
Read Next
This Section Also Contains
- Ecommerce CMS MVC with Bootstrap 4
- Creating a New Sitefinity Custom Template
- How to Share Template in Multisite Instance
- How to Customize a Site with Resource Packages
- Theming Bootstrap
- Page Long Cache Considerations and Configuration
- Mappings Module
- Personalization Integrated with JDEdwards
- How to Add New Widget Template
- How to Include Local Web Font
- How to Use External Plugins Locally
- Sitefinity Authentication Expiration
- Sitefinity Images
- Internal Plugins Configuration in Update 6 - SC20220114
- Internal Plugins Configuration in Update 7
- How to Setup Pickup Instructions Page
- How to Setup Terms and Conditions Page
- Resource Manage Multisite
- Content Search Configuration
- Product Assignments (Filter by Attribute)
- Google Analytics Configuration
- Configure Azure Redis Cache (ASP.Net State Server Provider)
- Task Manager Email Notifications
- Configure Google Maps
- Catalog and Product Content Metatags (SEO)
- Cookies Configuration
- Change Password Configuration
- Recycle Bin
- Login Page Configuration
- Error Page Configuration
- Configure the SmarterCommerce Menu in Backend
- SmarterCommerce Settings Not Being Displayed
- Management Console Email Templates
- EPayments Modules
- Troubleshooting Errors
- Configure Kraken Image Optimization
- Sitefinity Health Check Integration